



Open any scrapbooker's drawer and you will find both: a roll of patterned washi tape and a small dispenser of glue tape. They sit side by side on the same shelf, they cost roughly the same, and they are absolutely not interchangeable. One is a design tool that happens to stick. The other is a structural adhesive that happens to be convenient. Knowing which is which saves you from curled photo corners, lifted strips, and pages that never quite lie flat.
Two Tapes, Two Different Jobs
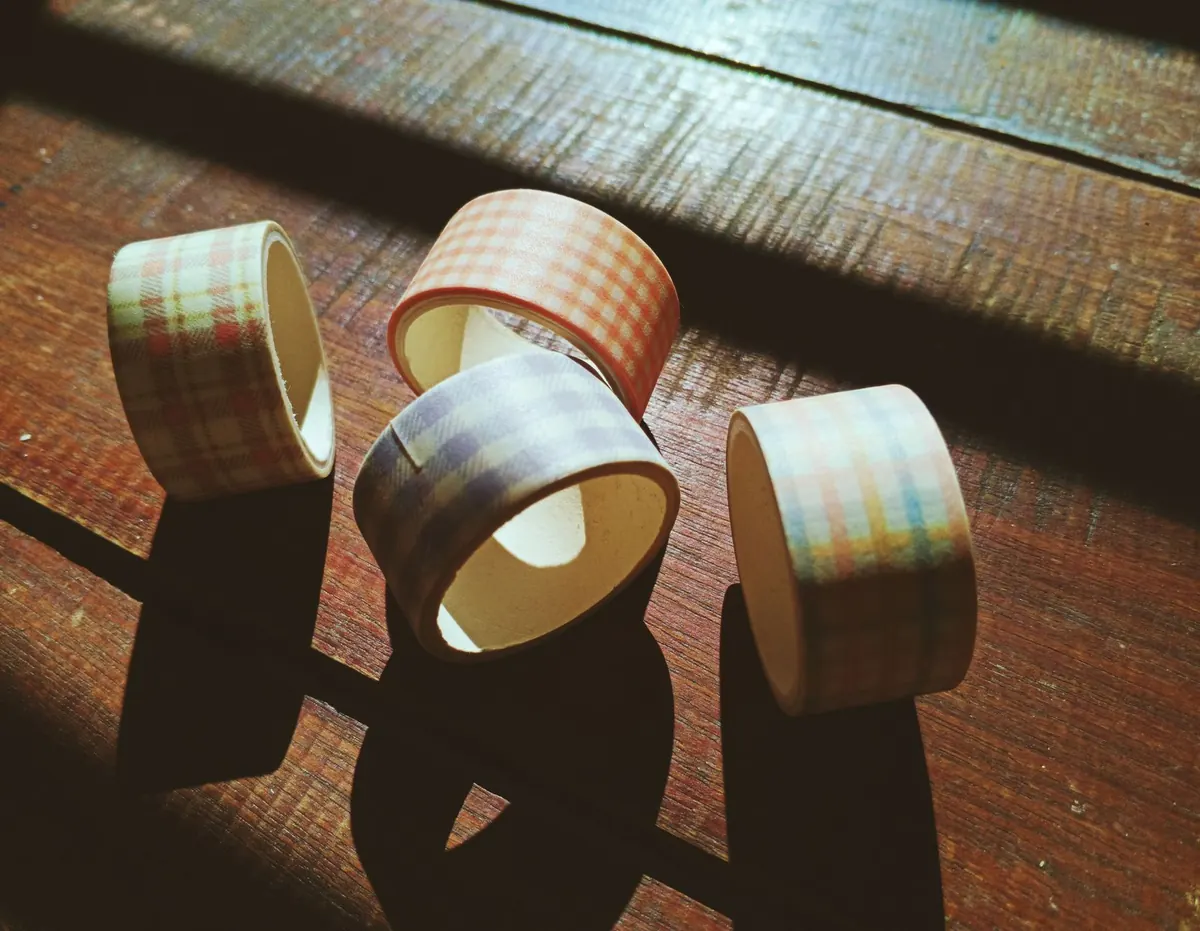
Washi tape is a paper tape, usually made from thin rice paper coated with a low-tack adhesive. It comes in every width and pattern imaginable, tears by hand, and lifts off most surfaces without much protest. Glue tape — also sold as adhesive tape, tape runner, or double-sided scrapbook tape — is a dispenser that lays down a strip of dry adhesive, either permanent or repositionable. Its job is to disappear.
That distinction matters because a scrapbook page asks for both jobs at once: decoration and construction. Washi handles the first. Glue tape handles the second. Most of the frustration people run into comes from asking one tape to do the other's work — taping a heavy photo down with washi, or trying to make a decorative border out of a tape runner.
Adhesion: Where Each Tape Holds and Where It Fails
Washi's low tack is deliberate, not a defect. It grabs nicely on smooth cardstock, printed patterned paper, glassine envelopes, and painted or inked surfaces. It is noticeably less reliable on textured cardstock, kraft paper, vellum, waxed sheets, and anything with glitter or a coated finish. Corners lift in humid weather or in a warm room, and long strips tend to creep at the ends first.
You can improve the hold without changing the tape. Burnish it with a bone folder or the back of your fingernail, and apply long borders as two or three overlapping pieces rather than one continuous strip — the overlaps act as anchors. Just don't treat washi as load-bearing. A metal charm, a thick chipboard title, or a bundle of ribbon knots will pull free eventually.
Glue tape is the opposite personality. A permanent film grabs immediately and holds flat, which makes it the right choice for photos, matting, pocket pages, and hinged elements. It does have limits: thick embellishments, curved surfaces, and anything with real weight need a liquid adhesive or foam squares. Overrun the edge and you'll see a sliver of adhesive on the front of the page, so stop short and press from the center outward.
Repositioning: The Real Dividing Line
This is where washi earns its place in the drawer. You can lay out an entire page without committing — tack a photo down at two corners, step back, decide the title belongs lower, lift, and restick. Two or three lifts are realistic. After that the adhesive picks up paper fibers and grip drops sharply, so treat repositioning as a short grace period rather than a permanent feature.
Lift carefully. On thin or coated paper, a quick yank can pull the surface layer right off. Slide a thin blade or your fingernail under a corner and peel slowly, back on itself, rather than upward. Warming the tape for a second between your fingers softens the adhesive and makes the peel gentler.
Glue tape is mostly permanent, and that is the point. Repositionable versions exist and are handy for temporary holds, but they don't hold as firmly over time and shouldn't be trusted for anything you want to keep flat for years.
A layout sequence that uses both
- Arrange the photo, journaling block, and paper layers dry, with nothing attached.
- Tack everything in place with small washi pieces.
- Step back. Photograph the page with your phone and look at it on a small screen — misalignments show up fast.
- Adjust until the composition sits right.
- Lift the washi, apply glue tape where the structure needs to hold, and press firmly.
- Decorate over the joins with washi strips, so the functional tape becomes part of the design.
Finish: Matte, Translucent, Invisible
Washi is matte and slightly translucent, which is why layering works so well: strips overlap, colors show through from beneath, and torn edges give a soft deckled line that scissors can't imitate. Many washi tapes accept pencil or a fine liner if you want a handwritten label, though it's worth testing on an offcut first — glossy or coated tapes will bead the ink.
Glue tape should leave no trace at all, and usually doesn't. Some adhesive films catch the light at an angle, leaving a faint sheen, and on very thin paper a strip can read as a slightly darker line from the front. Before committing a full sheet, run a test strip on a scrap of the exact paper you're using and check it under a lamp. That thirty-second test prevents most complaints about "ghost" lines in finished albums.
Paper Safety: Acidity, Bleed, and Buckling
For anything near photographs or keepsakes, look for tape labeled acid-free and lignin-free. Decorative tapes are not all made to archival standards, and some inexpensive washi carries dyes that can migrate if the page gets damp. If you're taping around a wedding photo or a child's drawing, keep the tape on the mounting paper rather than directly on the original, or use photo corners and archival sleeves instead.
Moisture is the other factor. Dry adhesive film from a tape runner introduces almost no water to the page, which makes it the safer choice for thin papers. Liquid glues can ripple and buckle cardstock; if you use one, apply sparingly, spread it to the edges, and weight the piece under a heavy book while it dries. Store finished albums somewhere cool and dry — a humid attic will lift washi corners faster than anything you do at the table.
A Side-by-Side Cheat Sheet
- Best for structure: glue tape. Photos, matting, pockets, hinges, anything that must stay flat.
- Best for decoration: washi. Borders, tabs, layering, torn edges, handwritten labels.
- Adhesion strength: glue tape wins clearly; washi is a light hold.
- Repositionable: washi, for two or three lifts; glue tape is generally permanent.
- Finish: washi is matte and translucent; glue tape is invisible, with occasional sheen.
- Surface tolerance: glue tape handles more textures; washi prefers smooth paper.
- Archival caution: check labels on both, and keep adhesive off irreplaceable originals.
Building a Kit That Uses Both
If you're starting out, buy one permanent tape runner and two or three washi rolls in widths you'll actually use — a narrow 5mm for borders and a wider 15mm or 20mm for bands and tabs. Keep them together, because the workflow depends on having both within reach: washi to decide, glue tape to commit.
The habit worth building is simple. Lay out with washi, check the page from a distance, then fix the structure with glue tape and let washi finish the job as decoration. Your pages will sit flatter, your photos will stay put, and you'll stop losing good layouts to a corner that curled on a humid afternoon.
Photo: Nda Arsa / Pexels
Related posts
More stories you’ll love reading